Deleted
Deleted Member
Posts: 0
|
Post by Deleted on Jan 4, 2018 18:09:55 GMT -5
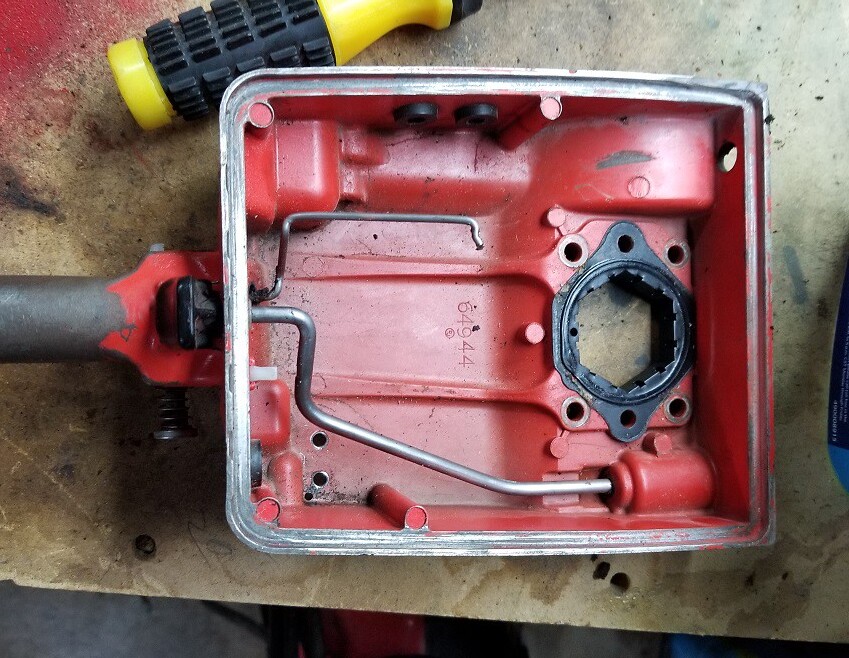
I have most of the parts off and sanded ready for etching primer, I bought a new tank cover from Leon, because I wanted to open the tank and check it out, The interior of the tank was near perfect other than a small black spot where a piece of fuel line melted to the inside of the case, no corrosion, no damage, looks new. After replacing the felt filter and new Tygon fuel lines I'll use the hard setting Permatex 8008 number 1 Hard Setting Gasket Maker to seal it up again and it will be ready for paint. The outside of the tank cover had a dent, the inside it was a full blown crack, no way that would have last long if at all. 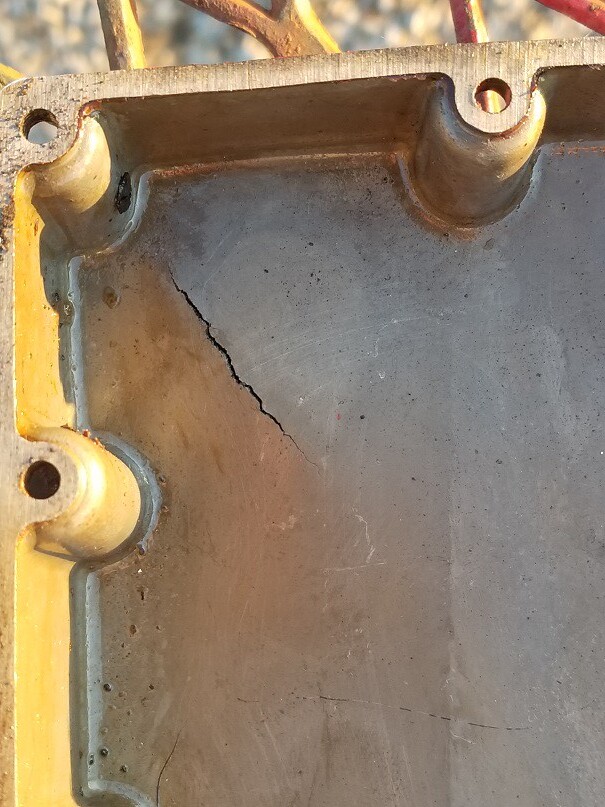 20180104_164946 20180104_164946 by Al Michaels, on Flickr |
|
|
|
Post by sweepleader on Jan 4, 2018 20:35:14 GMT -5
Nice catch, that cast does not like to be bent.
|
|
Deleted
Deleted Member
Posts: 0
|
Post by Deleted on Jan 5, 2018 12:57:55 GMT -5
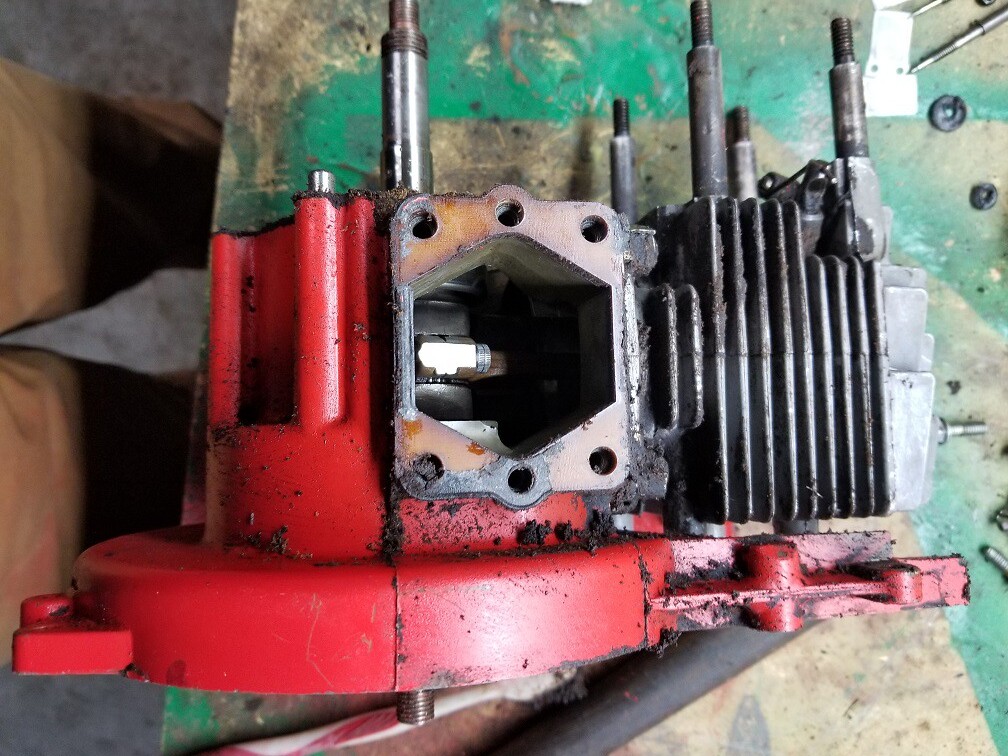
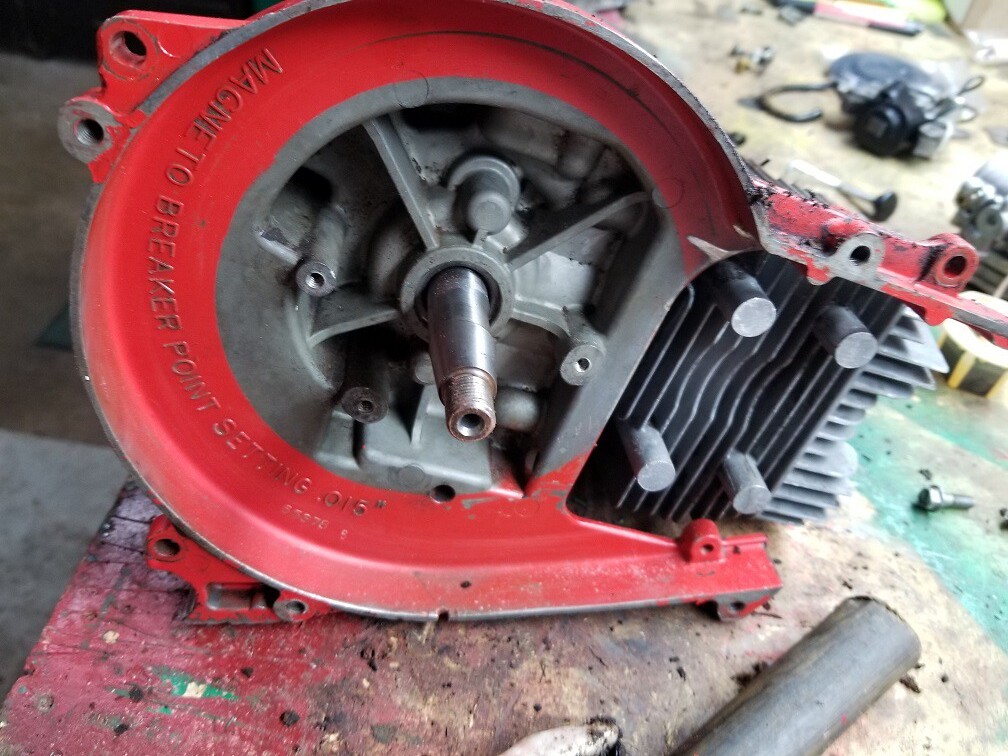
I saw that in the late 1960 service manual that the gasket between the tank and tank cover wa eliminated in favor of Homelite cement, I'll use Permatex 8008 hard setting as Leon recommended. BTW is the tiny little hole between the studs the place where oil shoots out? I also wa wondering what the two brass check valves were for? Thanks
|
|
Deleted
Deleted Member
Posts: 0
|
Post by Deleted on Jan 21, 2018 21:22:10 GMT -5
|
|
|
|
Post by lesorubcheek on Jan 21, 2018 21:51:32 GMT -5
|
|
Deleted
Deleted Member
Posts: 0
|
Post by Deleted on Jan 21, 2018 22:05:02 GMT -5
Do you hit them with a hammer or just push down? |
|
|
|
Post by Clasec on Jan 21, 2018 22:13:30 GMT -5
Hit with a hammer.
|
|
|
|
Post by sweepleader on Jan 22, 2018 7:42:39 GMT -5
When using the impact driver, be sure the bit fits the screw well, twist in the "off" direction and hold there, then hit with hammer. Start with light blows on small screws. They work great. The hammer blow holds the bit in the screw head at the exact moment that the driver twists the screw.
|
|
Deleted
Deleted Member
Posts: 0
|
Post by Deleted on Jan 22, 2018 8:25:05 GMT -5
When using the impact driver, be sure the bit fits the screw well, twist in the "off" direction and hold there, then hit with hammer. Start with light blows on small screws. They work great. The hammer blow holds the bit in the screw head at the exact moment that the driver twists the screw. Thanks a bunch! |
|
Deleted
Deleted Member
Posts: 0
|
Post by Deleted on Jan 22, 2018 11:03:02 GMT -5
I ordered all three of the gaskets that go to the intake and carb
|
|
|
|
Post by tjthechainsawmech on Jan 22, 2018 11:20:10 GMT -5
Subbed for the build.
|
|
Deleted
Deleted Member
Posts: 0
|
Post by Deleted on Jan 22, 2018 11:26:36 GMT -5
I ordered all three of the gaskets that go to the intake and carb
|
|
Deleted
Deleted Member
Posts: 0
|
Post by Deleted on Jan 23, 2018 18:53:14 GMT -5
I'm prepping the parts, last coat of epoxy filler one deep gouges and spot putty on light scratches. I have the last three parts t spray and sand, then I'll put a light coat of primer over all the bare and filer spots. I could sure use that muffler shield. I sand the aircraft primer with a sponge pad, 220 on one side, foam on the other then vacuum and wipe with a beeswax cloth to remove particles. I'll be using a pretty hot mix on the first coat so most fine paint dust will melt back in the paint, that way I can recoat quickly and have it bond together. The actual painting time will take less than 20 minutes for both coats, but getting it ready from here I still have a couple hours. 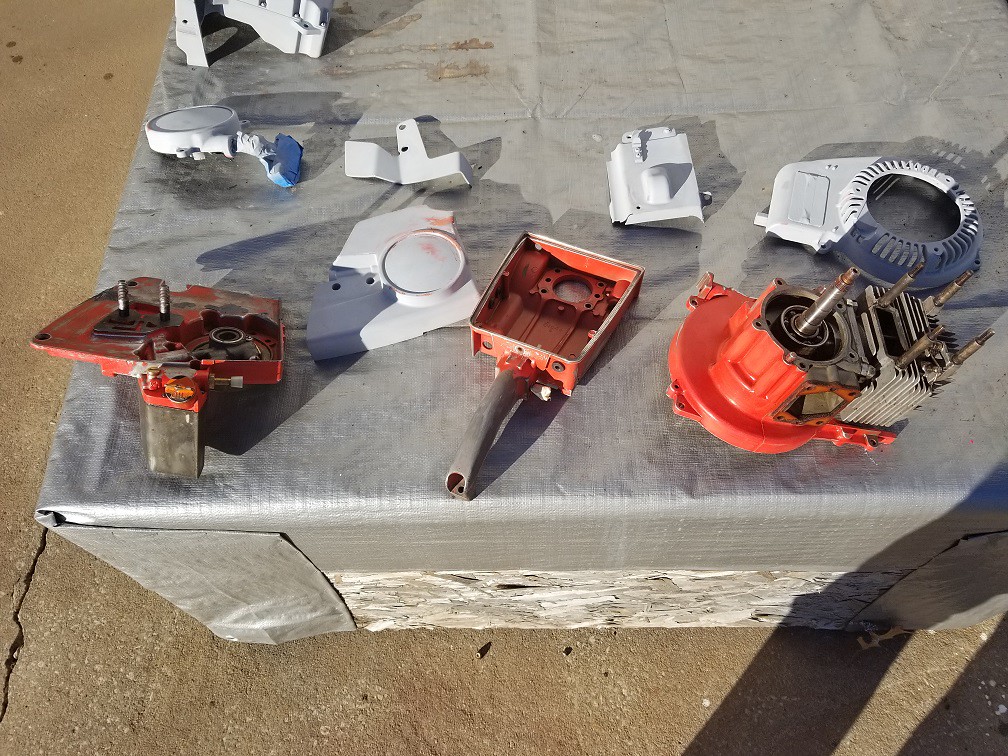 20180123_153406 20180123_153406 by Al Michaels, on Flickr 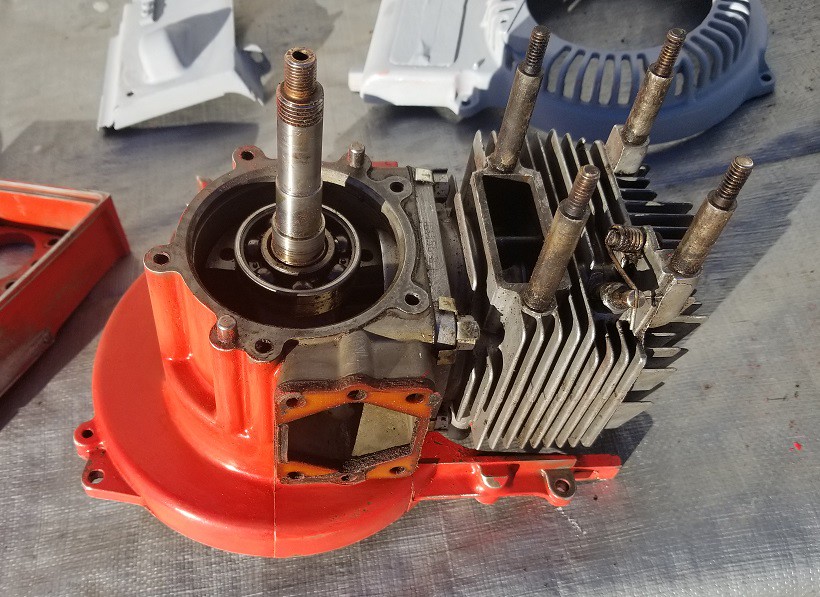 20180123_153412 20180123_153412 by Al Michaels, on Flickr  20180123_153420 20180123_153420 by Al Michaels, on Flickr  20180123_153424 20180123_153424 by Al Michaels, on Flickr  20180123_153427 20180123_153427 by Al Michaels, on Flickr 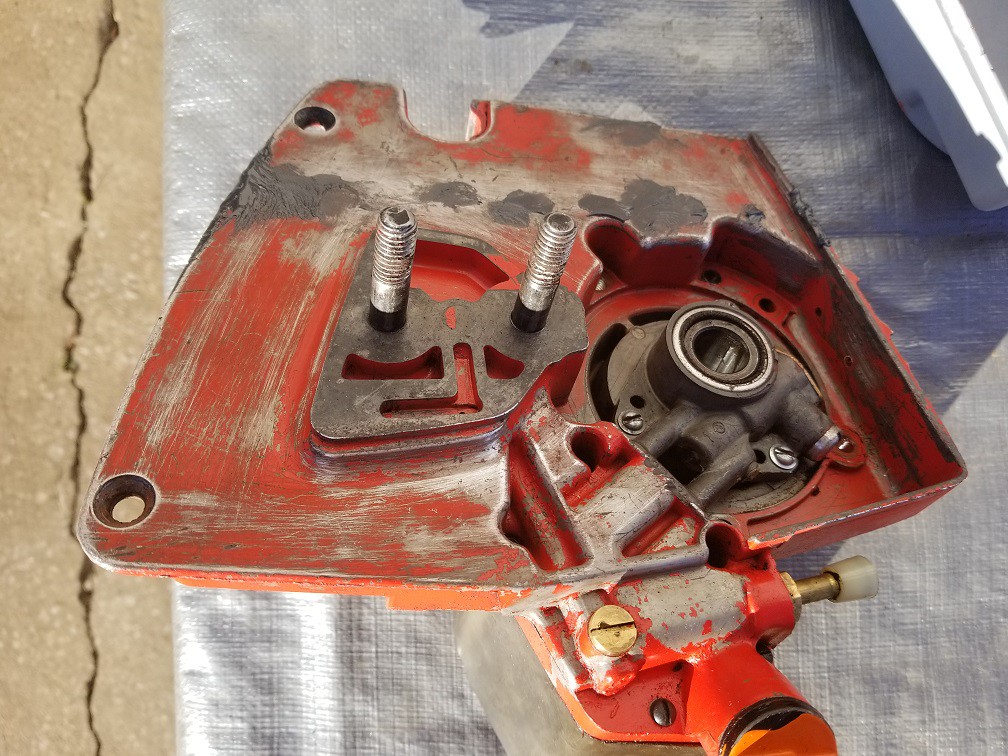 20180123_153436 20180123_153436 by Al Michaels, on Flickr 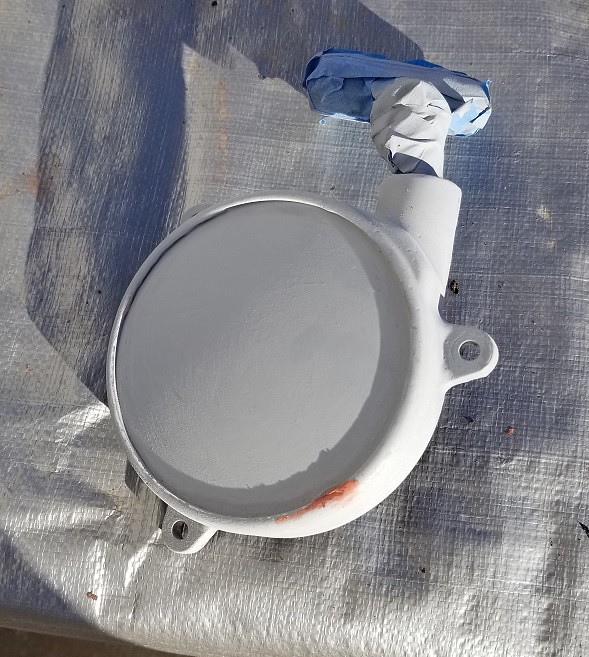 20180123_153453 20180123_153453 by Al Michaels, on Flickr 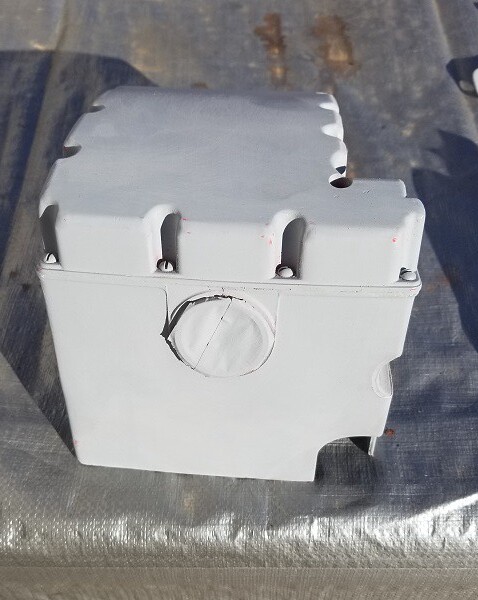 20180123_153459 20180123_153459 by Al Michaels, on Flickr |
|